Clinical Photography with the SmartGraft
Posted in General
Published on March 10, 2020
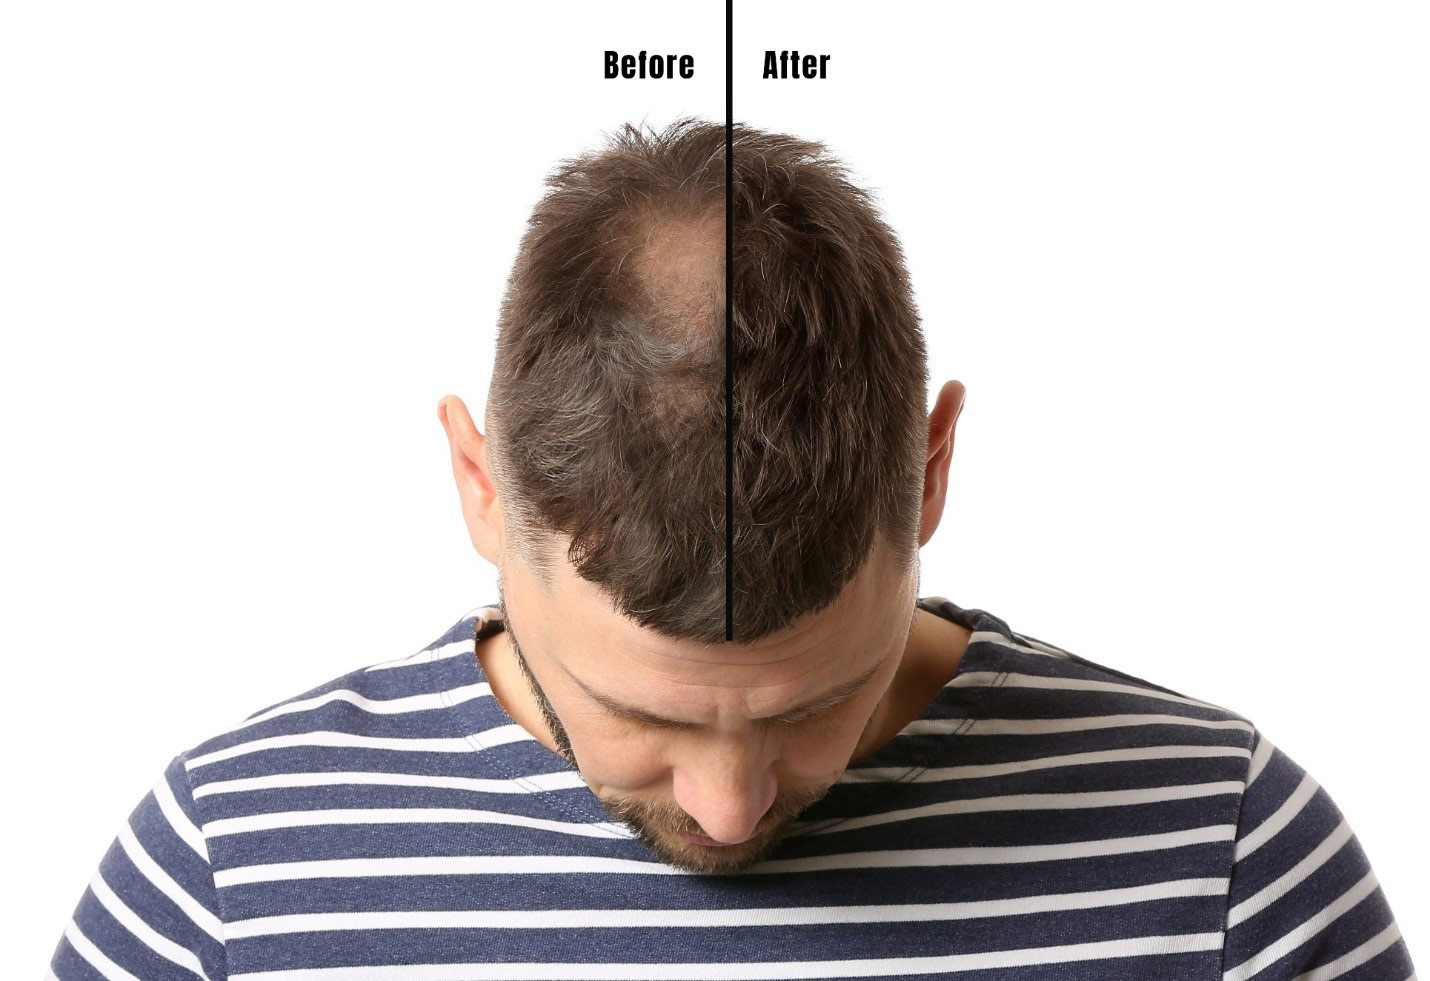
Protect Your Investment
As a physician, you studied hard to get where you are today. Your patients’ results are the product of your hard work and your craft. A car collector does not purchase a Lamborghini Veneno and park it on a busy street in the city. They protect their investment by parking it in a secure garage to ensure it maintains its value and pristine condition. The same is true for physicians! Your before and after photos will be used for clinical follow up visits, proof of procedure, and sales and marketing illustrations. They serve as a visual portfolio of your masterpieces, and they help to build realistic expectations for future patients, building trust in your ability as a surgeon. Show them with pride! Remember, these images will represent YOUR work to your colleagues, and they represent a relationship you have formed with your patient. You want these images to reflect your art and the patient’s transformation.
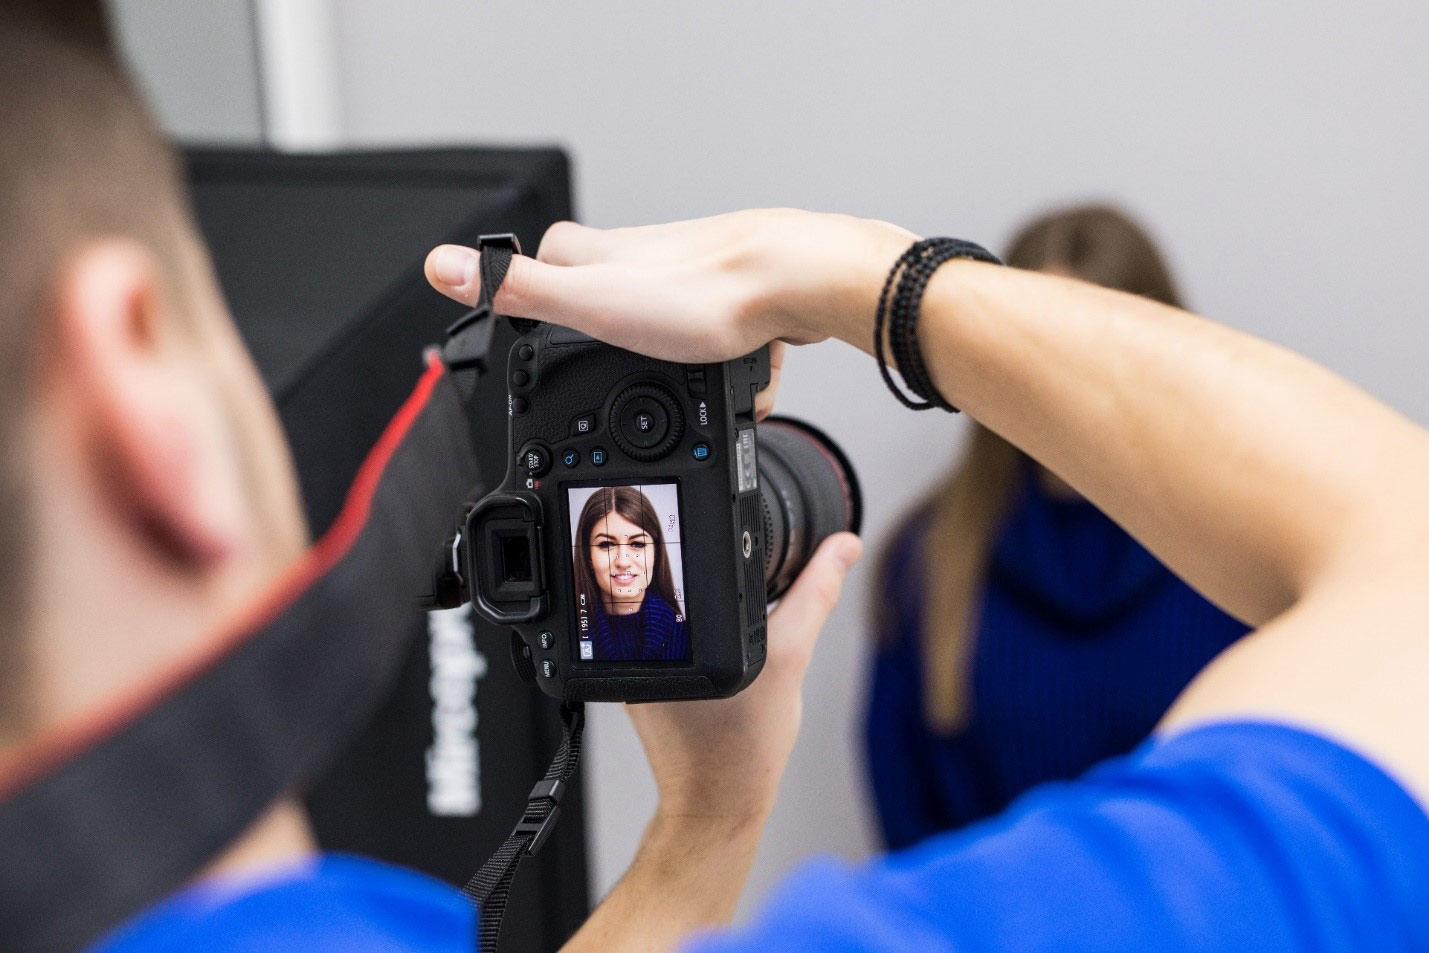
Practice Makes Perfect!
- If taking before and after images yourself is not possible, it’s best to train and assign photo taking to a skilled staff member. Anyone can pick up a camera and take a picture, but the most advanced technological features will do little if the person behind the camera is inexperienced.
- Any staff member assigned to taking images should know that their work will be periodically reviewed and that he/she will be held accountable for each photo taken. This process should be used to encourage more precise image taking and encourage better education!
Note: Practicing on a patient is not the ideal time to hone one’s photography skills. Set up the exam room and use staff models to help practice the image taking process as part of the training modules. Taking multiple photos will ensure the “right” shot is taken. Thanks to digital media, you’ll get results rather quickly for editing, and you won’t have to wait for film to process!

Get a Room!
One such way to exhibit your craft is creating a dedicated space for photography. A dedicated space will save time and provide a more consistent outcome. Consider reserving a “windowless” 5 ft x 10 ft room for your photography needs or reserving a dedicated space in your office. Materials to consider for your dedicated space include:
- a Tri-Pod for your camera
- 2. A camera
- 3. A video camera (optional)
- 4. A swivel chair for the patient
- 5. Two adjustable wall mounted booms (they’ll hold two powerful strobes to give light and excellent depth of field)
- 6. Two large diffusers (they’ll reduce the shadows and harshness of the photos)
- 7. A Selfie Ring Light with Tripod Stand (for SmartPhone Technology)
- 8. Monochromatic Background
Pay No Attention to the Man Behind the Curtain
If the patient is your masterpiece, consider the background of your photo space your canvas. You’ll want to use a uniform, non-textured grey or blue background for your before and after images. Avoid distracting background elements, including people, in the images. The focus should be your patient and their progress! The images should be as similar as physically possible, so as to showcase the patient’s hair and their transformation. To increase consistency over time and prevent distractions from a patient’s clothing, you may consider having the patient wear something over their clothes.

HIPAA-Compliant Photography
A lot of physicians turn to SmartPhones over traditional cameras. When used appropriately and alongside tripod ring lighting, these newer technologies can be an acceptable medium for image taking—in the right hands. The accessibility of smart phones in today’s digital world makes it easy to quickly snap before and after images to document patient results. It is important, however, to ensure the use of a HIPAA compliant camera or app for use, especially if there is any identifiable information of the patient. Using an approved app on a standard smartphone can help to guarantee you do not incur fines, lawsuits, or terminations. HIPAA compliant apps are used via secure applications that do not store these images to your personal photo gallery or the cloud.
Here are a few HIPAA Compliant Medical Photography Apps:
- RxPhoto
- PicSafe
- Epitomyze Capture
- CaptureProof
Not All Cameras Are Created Equal!
While you can use a SmartPhone, if you’re truly dedicated to investing in your image, it is advisable that you invest in a quality camera for your clinical photography needs. In this market, shopping for the right equipment can be overwhelming. There are so many options!
- The Point and Shoot: Point and shoot digital cameras are generally not recommended, as they provide a lower CCD, or Charged Coupled Device, and their pixel sizes may affect the quality of the image. In addition to their CCD inequality, point and shoot cameras generally retract their magnification when turned off. To maintain uniform before and after images, the person taking the image will need to use the same magnification at each interval–obviously not ideal for recall purposes. If you must use a camera with a zoom lens, DO NOT use it in its default wide angle setting. Zoom in to your subject to avoid distorting the facial features.
- The Digital Single Lens Reflex: A DSLR is the preferred method for medical photography. A DSLR camera can be purchased for $500.00 – $1,000.00 USD. Nikon, Fuji, Sony, and Canon each have comparable options depending on your practice needs. It’s best to use a fixed 100 MM to 105 MM portrait lens for your images.
- Mirrorless Cameras: If you consider yourself a revolutionary or pioneer, note the recent shift in photography devices from DSLR to Mirrorless technology. The transition to this technology will likely be as slow as the shift from film to digital. Looking to the distant future, however, mirrorless technologies are on the rise and growing acceptance in the professional markets.
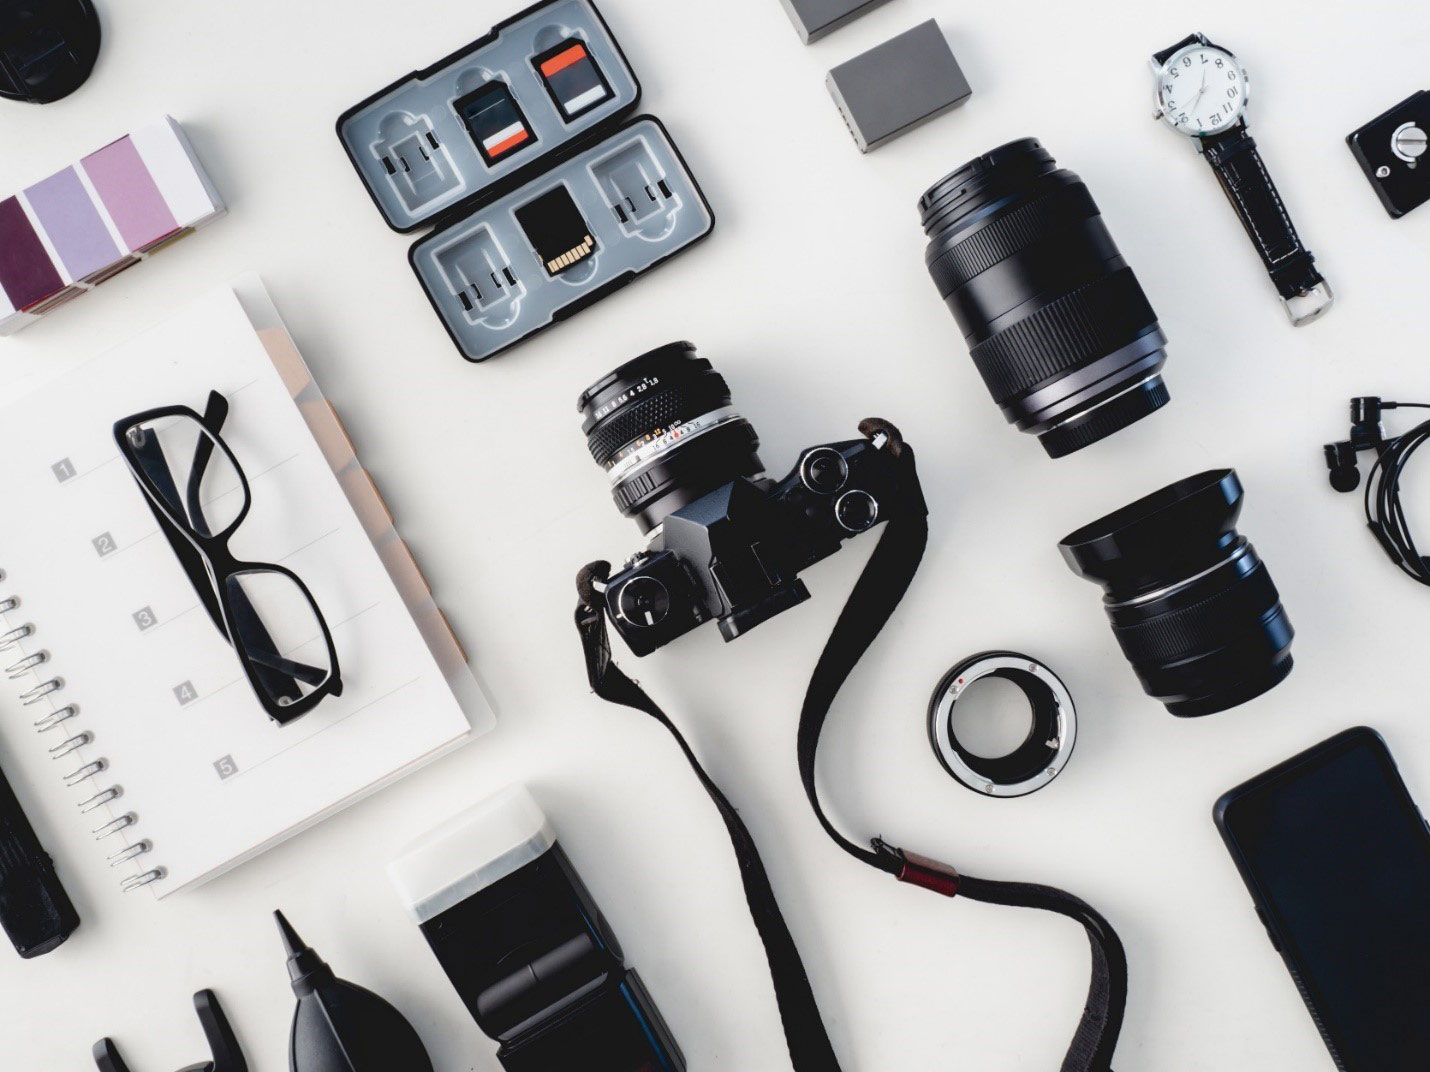
Right Stuff, Baby
Once you have selected your device, you’ll want to follow these important tips to ensure you are taking good quality photos:
- Set your focus properly. Blurry images are not acceptable, and you don’t want to have to ask the patient to sit longer than they are needed!
- Make sure you know how to set exposure properly. Over or underexposed images are not acceptable!
- Avoid using a zoom lens for medical photography.
- Medical images should be in ‘portrait’ setting. Portraits using a wide-angle lens are not attractive!
- Do not use an added flash!
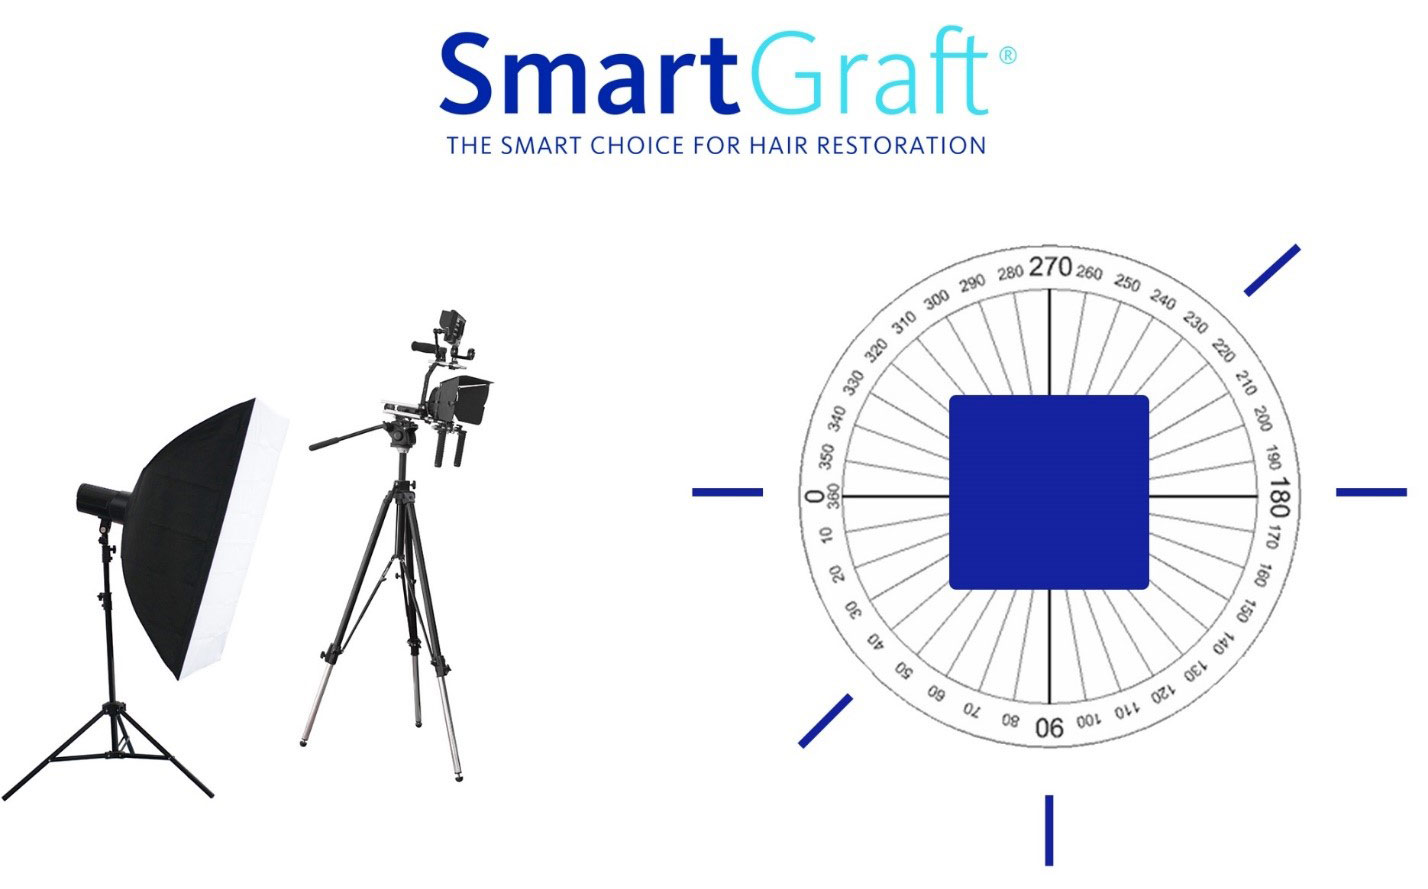
Set Up for Success
- When setting up your patient for before and after images, you’ll want to place the patient’s chair in front of the backdrop and center it accordingly. The patient will need to be able to comfortably turn themselves 360 degrees.
- The camera should be far enough away to capture the patient’s shoulder, face, and head. The height should be adjusted to capture the same for each patient.
- To ensure the exact same position for each patient, consider placing tape on the floor. Tape on the floor should be located at 0 degrees (straight toward the camera) 45 degrees, 90 degrees, 180 degrees, and 225 degrees.
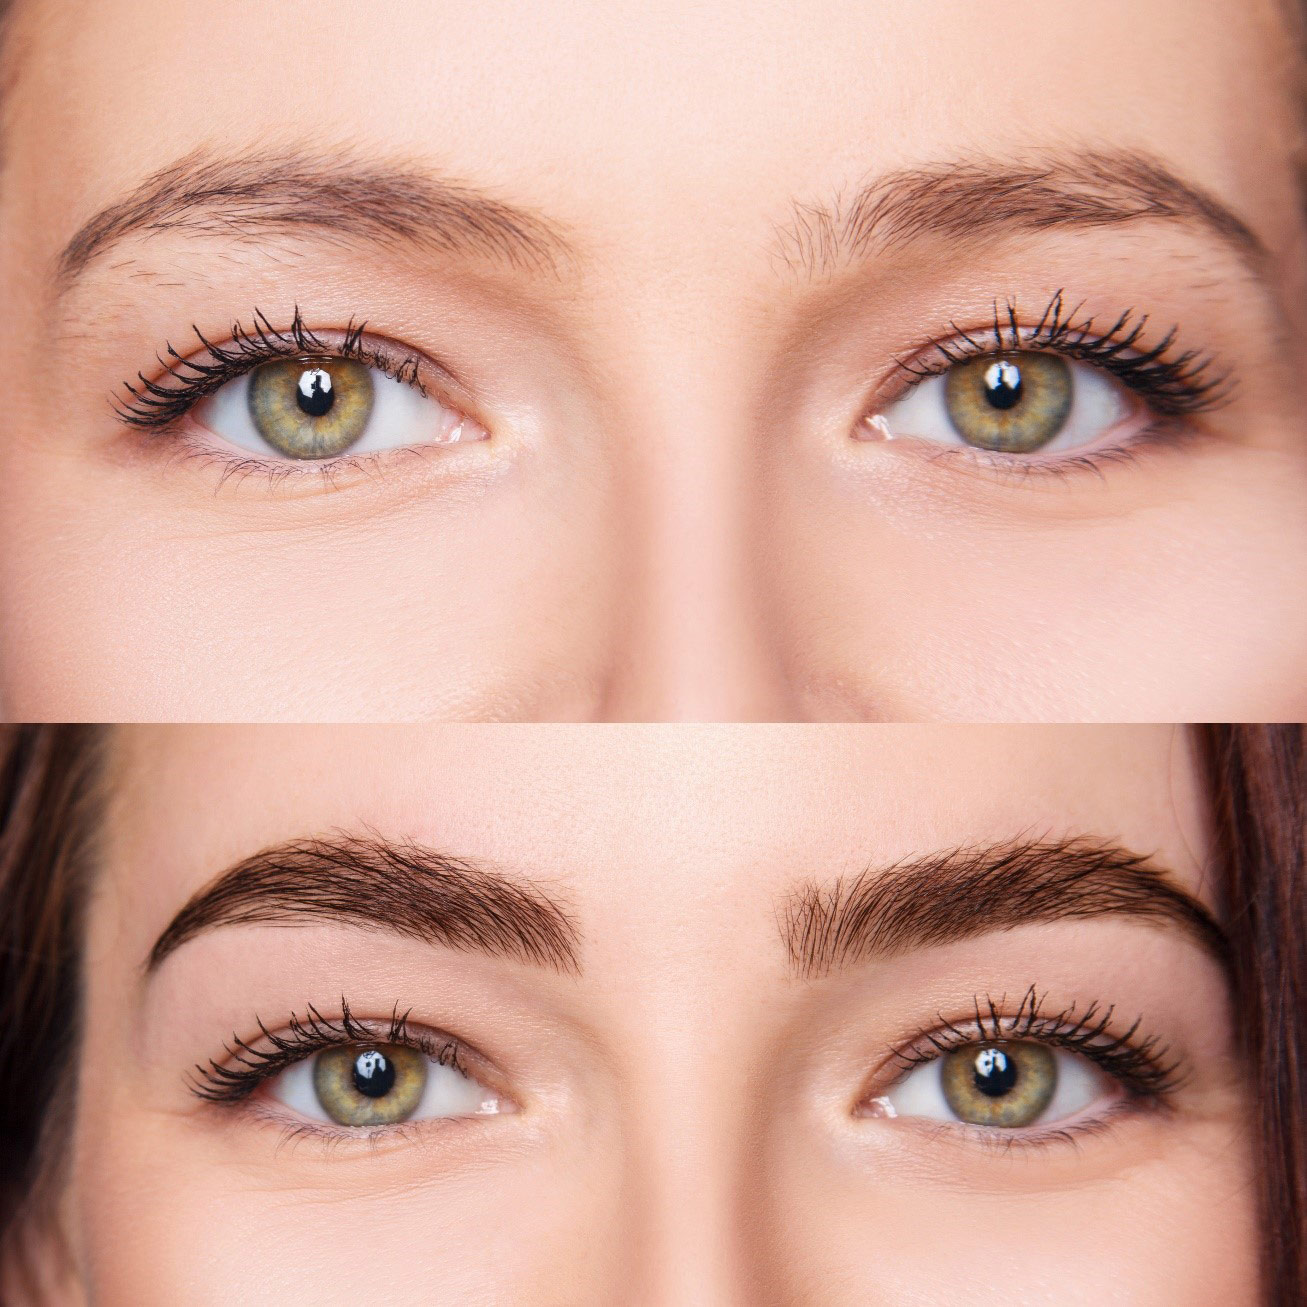
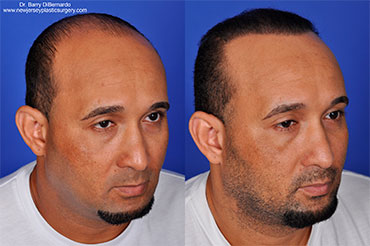
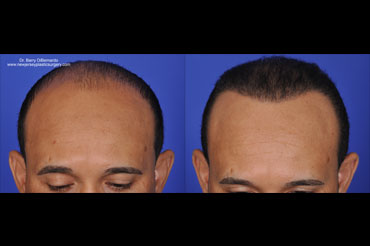
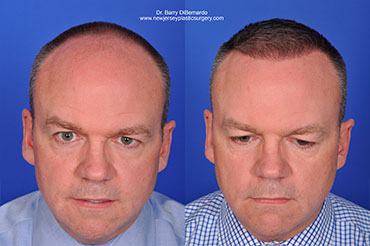
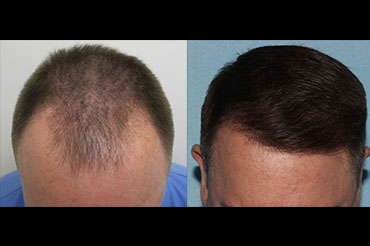
A Picture is Worth a Thousand Words
Taking the correct number of images will ensure that you capture the patient’s true results. It’s important to use consistent “before” views that can easily be replicated for the “after” views. This is very effective for the patient and for any potential patient who may not completely understand the timeline involved.
A Birds Eye View
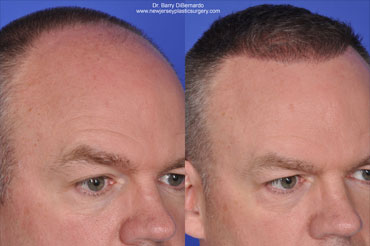
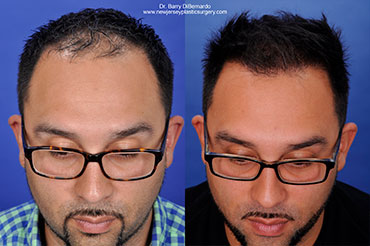
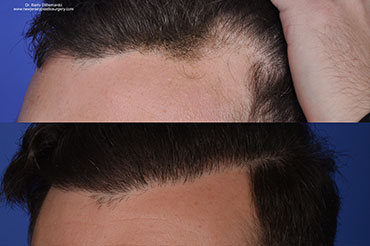
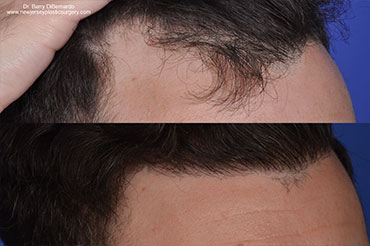
For Hair Restoration Patients, 15 views are recommended for before and after images. These images should be taken before the procedure, one week post operation, and at 3 months, 6 months, 9 months and 12 months intervals. Suggested angles include:
- Full views of the Front
- Full View of the Left side
- Full View of the Right Side
- Head tilted down so tip of the nose appears to touch chin.
- A closer view of the tilted view.
- A closer view of the front
- A closer view of the tilted head
- A Full and closer view of the crown.
- 3 oblique views of each side, including a closer view of the expected hair line
The Pièce de Résistance: Video Testimonials
While you are collecting “before” photos, consider filming a video testimonial. Video testimonials are great sales and marketing tools, and they can be used in consultation, on social media, and on your website. Video testimonials capture the emotions and enthusiasm of each patient as their hair begins to regrow, and their appearance and lives change for the better! It is an excellent method to create quick, effective and authentic marketing materials. Current and previous patient testimonials act as great assets to potential patients. Additionally, a testimonial helps to relieve stress and anxiety, and it makes potential patients feel more comfortable. Again, consistency is key!
Say What?!
Questions to ask during the video testimonial
A). What is the worst thing about losing your hair?
B). Why did you choose Dr. ________ for your hair restoration procedure?
C). Why did you choose to have the SmartGraft procedure?
D). What will be the best thing about having your hair back?
E). If you have a friend who was losing their hair, what would you advise them to do?
F). How does the SmartGraft compare in comparison to other experiences, like a tattoo? A previous surgery?

Take a Look!
As a physician, you should maintain an up to date photo example book of your hair restoration patients. It’s okay to show the process as it progresses to potential patients. Your portfolio will build over time! In time, you should have an ample supply of photos taken before, after, and all throughout the process to offer potential new patients’ insight into their own journey. These photos will help provide clear answers as to what the patient looks like before, immediately after, at 3-month, 6-month, and 9-month periods, as well as the final result 1 year later. Asking patients to provide their own testimonials and images immediately following the procedure on websites like www.RealSelf.com will ensure area candidates see your work and increase your exposure.
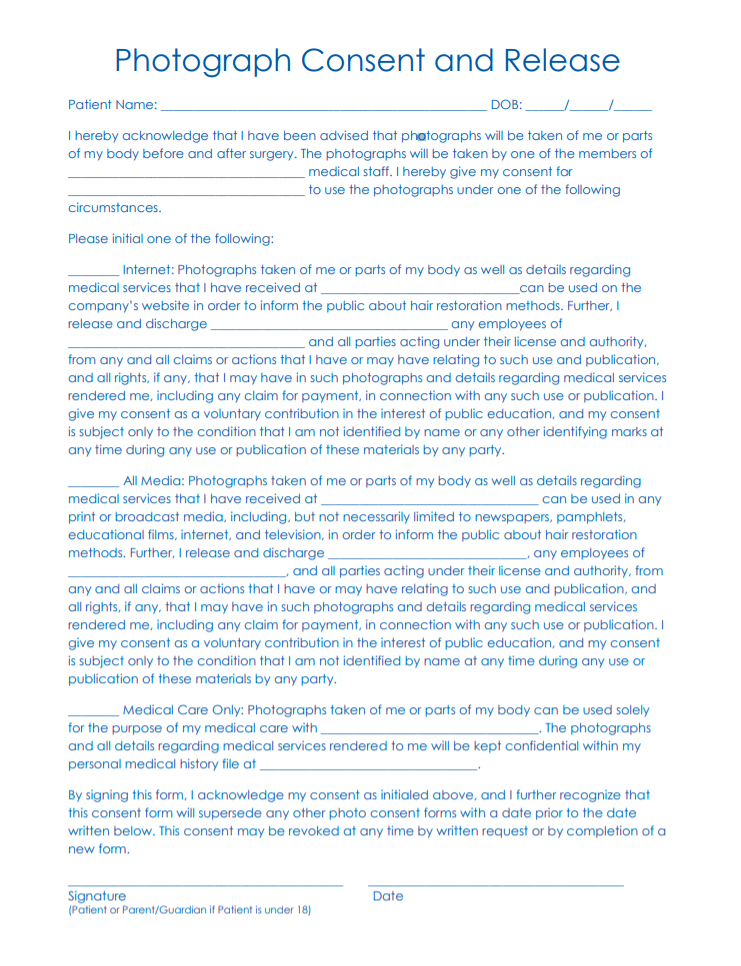
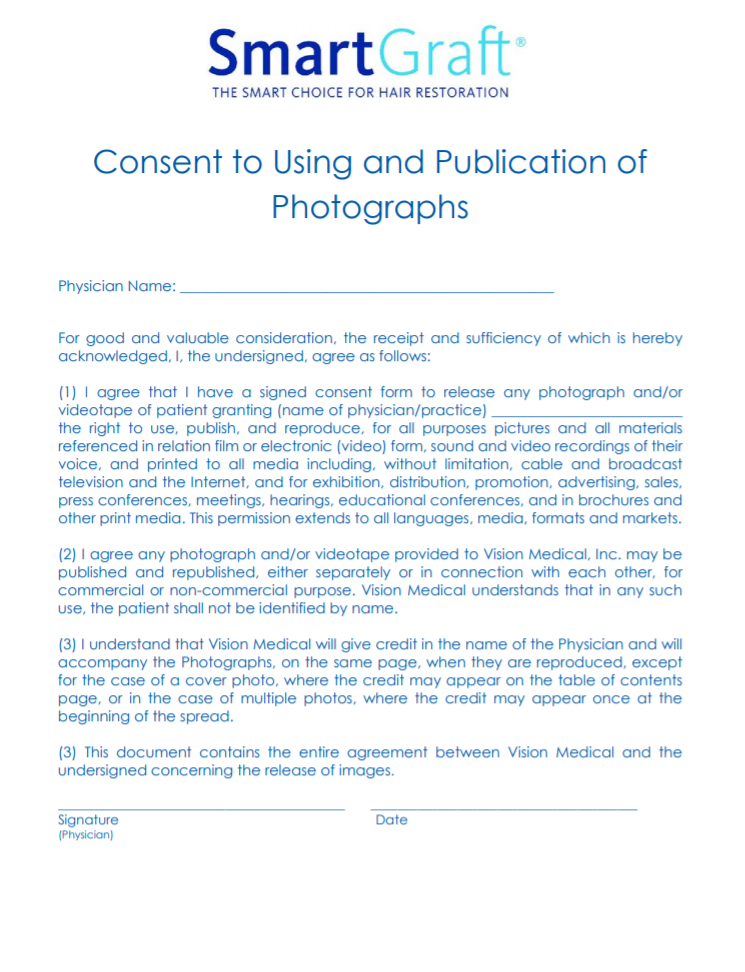
Consent Forms
When photographing patients, don’t forget to obtain consent and release permissions for photographs! If you are a SmartGraft Physician, these forms can be found in your SmartStart Files
Suggested Further Reading
“Photographic Standards in Plastic Surgery”: https://www.plasticsurgery.org/for-medical-professionals/connect/before-and-after-photo-guide
“Mastering Clinical Photography in Hair Restoration Surgery”: https://ishrs.org/wp-content/uploads/2018/02/24_Alaska_Medical_Photography.mp4
“Mastering Clinical Photography”: http://myappworx.com/whitepaper.pdf
“3 Steps for Perfect Exposure for Every Photo”: https://clickitupanotch.com/photography-exposure-tips/
“Best Cameras for Plastic Surgeon and Medical Photography” http://thedigital-pro.com/plastic-surgeons/camera-info/
Before & After Gallery


Schedule a Free Consultation
© 2023 Smart Graft. All Rights Reserved. Digital Marketing by Webtools
46 Regency Plaza, Glen Mills PA 19342
Privacy Policy | Accessibility Statement
46 Regency Plaza, Glen Mills PA 19342
Privacy Policy | Accessibility Statement